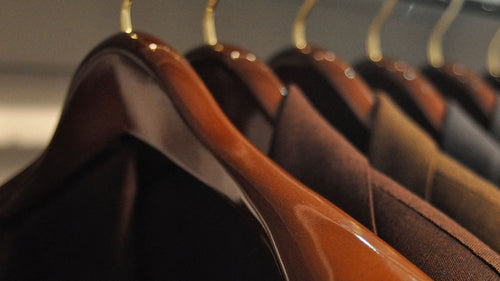

The Saphir "Presidential Shine" is a thorough shoeshine regimen that we recommend doing two to three times a year. With it, you completely strip off old finishes, thereby removing all waxes (natural or unnatural) and dirt that may have accumulated through wear. This prepares the leather to receive deep and total nourishment from Saphir's Medaille d'Or shoe polishes and completely rebuilds the protective wax finish. This is the most thorough shine -- think of it as "spring cleaning" -- and will completely renew the finish and patina of your shoe.
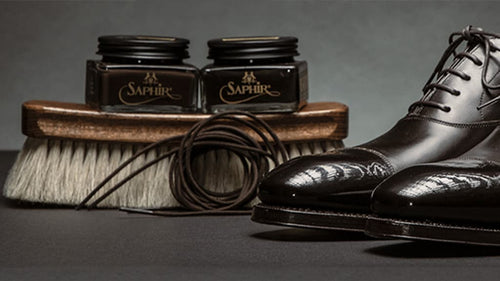
Products used in this video:
Saphir Reno'Mat
Saphir Dubbin Graisse Conditioner
Saphir Renovateur
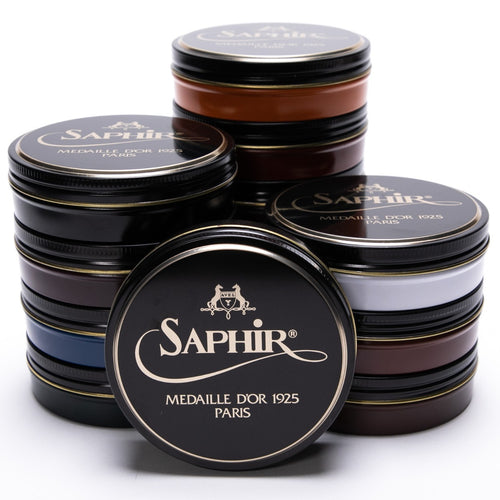
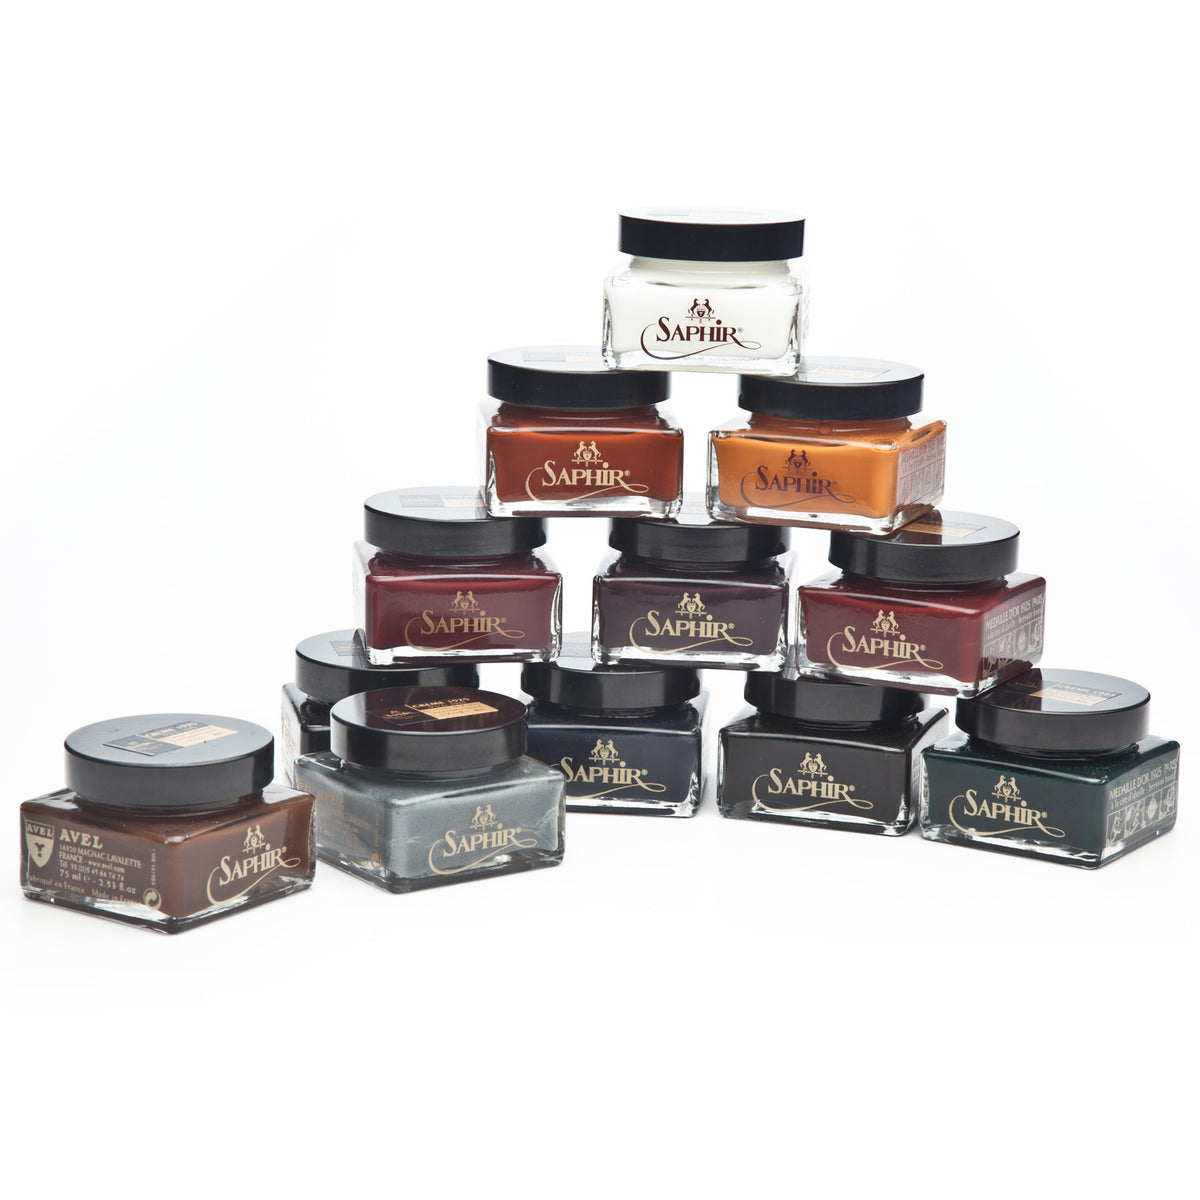
Saphir Pommadier Cream Polish
Saphir Pate de Luxe Wax Polish
Saphir Edge Dressing
Saphir Sole Guard
Cotton Chamois Cloth
Medium Horsehair Brush
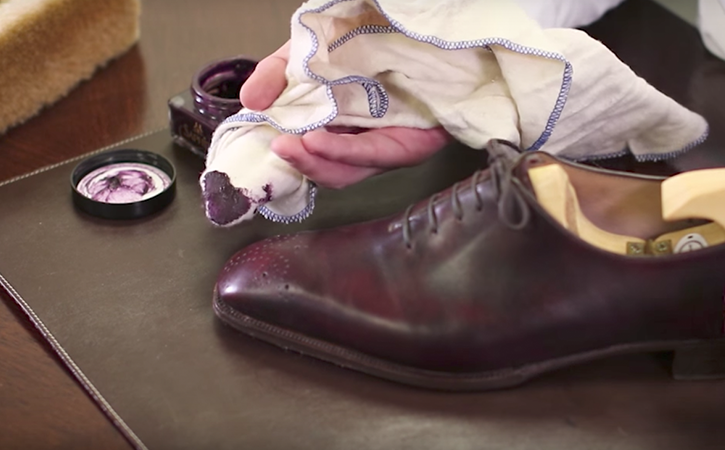
STEP 1 [03:20]
Apply Saphir Reno Mat
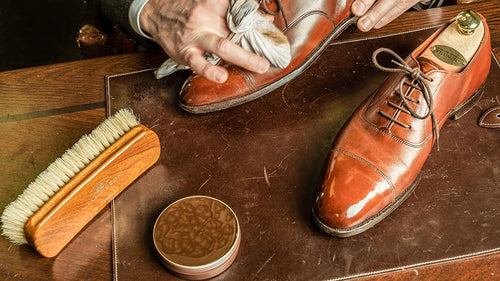
The first step to creating a presidential shoe shine is to apply the Saphir Reno Mat to a cotton chamois cloth. Test it on a hidden area of the shoe before applying it to the entire shoe to make sure that the Reno Mat does not react negatively on your shoe. Use moderate to firm pressure and small circular motions in order to rub the hard wax off. Focus on the areas of the shoe where you have a lot of build up of hard waxes- especially on the toe box. This process will take about 3-5 minutes. After you've finished, spritz a bit of water onto the shoe and wipe away any excess Reno Mat. Allow 30 minutes for the shoe to dry before moving on to Step 2.

STEP 2 [07:08]
Deep Condition with Saphir Dubbin Graisse
Apply the Saphir Medaille D'Or Dubbin Graisse using a cotton chamois. Apply the Graisse with a cotton chamois in small, circular motions. You will notice the leather darken almost immediately as it becomes saturated with the nutrients of the Graisse. This is normal. Make sure you're only applying the Dubbin across the vamp and on the side of the shoes. Do NOT apply to any of the hard countered areas of the shoe such as the toe box or rear. Allow at least 24 hours for the leather to absorb all the nutrients. Once completed, allow the leather to fully absorb the nutrients for two days. Because the leather is fully saturated when the Grassie is first applied, it will not take a polish until it dries. It is important to note the Graisse will neither change the color of your shoes nor leave a greasy finish. Once dried, your leather will be fully re-nourished and ready to take normal shoe polish.

STEP 3 [10:50]
Condition with Saphir Renovateur
Saphir Renovateur is arguably the company's best-known and most-popular product. This mink-oil based cleaner and conditioner contains no waxes and penetrates deep into leather pores to both clean and condition. Here, we use it as the base before applying pigmented polish. Using light to moderate pressure, brush away any excess Dubbin using a large horsehair shoe brush. Apply Saphir Renovateur using your cotton chamois and massage it into the leather, using moderate to firm pressure. Allow 3-5 minutes for the Renovateur to penetrate the leather. Then buff away the Renovateur using the horsehair brush.

STEP 4 [13:00]
Recolor with Saphir Pommadier Cream Polish
After stripping the previous finish with Reno Mat, we recommend applying three successive coats to rebuild the protective wax finish. After using the Reno Mat, one coat is insufficient and will leave the leather vulnerable. Begin by testing a small area of a hidden portion of the shoe to determine which color of the cream polish is best. Apply a thin layer of Saphir Medaille D'Or Pommadier cream polish using a cotton chamois (less is more when it comes to a cream polish) and massage it into the leather. After allowing the polish to dry for approximately three minutes, gently buff with a horsehair brush to remove any surface buildup.
STEP 5 [17:50]
Polish with Saphir Pate de Luxe Wax Polish
Saphir Medaille d'Or Pate de Lux Wax Polish provides the final coat of wax to bring up a high-gloss shine and to waterproof the shoes. By now, we have built up the finish with three to five layers of cream and wax polish, thereby providing a generous protective finish against scuffs and water. Apply an even coat of the Saphir Medaille d'Or Pate de Luxe Wax Polish using a cotton chamois cloth and massage the wax into the leather using small, circular motions. After applying two coats of the wax polish, let the wax dry. Once the wax has dried, begin to buff the shoe using a horse hair brush.

STEP 6 [21:40]
Recolor Edges
Apply the Renovateur Repair Cream using your finger and smooth the edge dressing across the edges of your shoe. Because this has resin and pigment, it does a good job of filling any type of scuffs or indentations to smooth the surface off. You can simply apply this using your finger and then just smooth it across the entire edge. You want to be careful not to get any of this on the upper itself because it is a permanent resin-based dye. Allow the edge dressing to dry for 3-5 minutes before moving on to the final step.

STEP 7 [23:42]
Condition and Waterproof Soles with Saphir Sole Guard
Lastly, apply the Saphir Sole Guard to your cotton chamois cloth and massage it into the soles of your shoes. You want to apply it sparingly, because you don't want any type of excess on the actual sole itself. Take several applications because the leather sole absorbs this pretty readily. After you apply this you're going to want to allow at least an hour for the leather sole to fully absorb the Sole Guard and for it to set. Another thing that's nice about the sole guard is it's been modified so that it doesn't rub off once it's dried.